How to Optimize Images
Published Oct 27, 2021
Table of Contents
Image Optimization is a Pain
If you’re using images anywhere hosting is only part of the equation since you have to make sure they’re optimized for your users.
There’s just one problem — it’s a giant pain.
Squoosh
Squoosh is a project by Google that optimizes your images right in the browser.
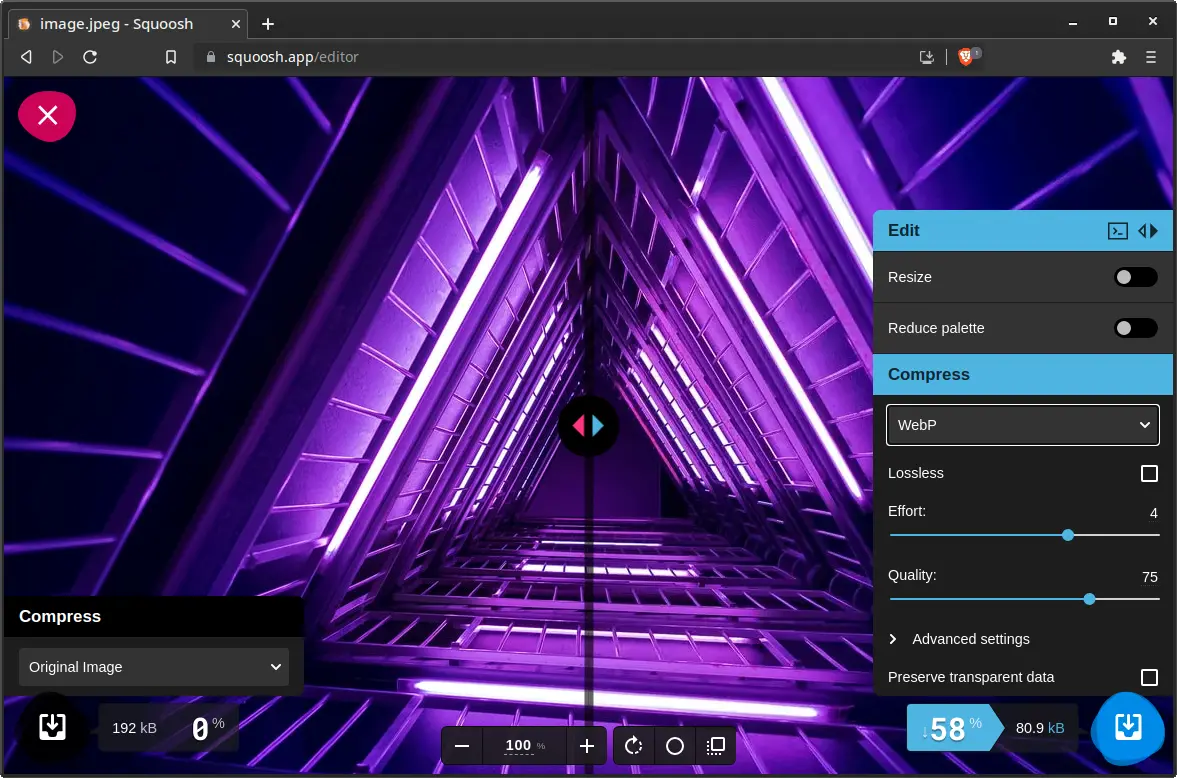
The Squoosh app has a delightful user interface. The only downside is that it takes a couple of steps for every image which can get tedious.
Using the Squoosh CLI
Thankfully we can use the Squoosh CLI (command-line interface) to automate it.
You can invoke the Squoosh CLI using the npx command which just downloads and executes the binary in node_modules.
npx @squoosh/cli -hThis is going to show us the options.
Usage: squoosh-cli [options] <files...>

Options:
  -V, --version                                          output the version number
  -d, --output-dir <dir>                                 Output directory (default: ".")
  -s, --suffix <suffix>                                  Append suffix to output files (default: "")
  --max-optimizer-rounds <rounds>                        Maximum number of compressions to use for auto optimizations (default: "6")
  --optimizer-butteraugli-target <butteraugli distance>  Target Butteraugli distance for auto optimizer (default: "1.4")
  --resize [config]                                      Resize the image before compressing
  --quant [config]                                       Reduce the number of colors used (aka. paletting)
  --rotate [config]                                      Rotate image
  --mozjpeg [config]                                     Use MozJPEG to generate a .jpg file with the given configuration
  --webp [config]                                        Use WebP to generate a .webp file with the given configuration
  --avif [config]                                        Use AVIF to generate a .avif file with the given configuration
  --jxl [config]                                         Use JPEG-XL to generate a .jxl file with the given configuration
  --wp2 [config]                                         Use WebP2 to generate a .wp2 file with the given configuration
  --oxipng [config]                                      Use OxiPNG to generate a .png file with the given configuration
  -h, --help                                             display help for command
The only problem is that after this the documentation stops and provides no examples.
The only clue you’re left with are the config options for the image format you want but I managed to figure it out after some investigation.
Let’s say you want to optimize your images using the *.webp format.
npx @squoosh/cli --webp '{ quality: 100, lossless: 1 }' -d output *In the example we’re using the highest quality but only use lossless if the colors of the image look washed out because it’s going to increase the file size.
- You have to pass it the image format flag such as
--webp - Then give it options
- Specify the output with the
-dflag followed by the name of the output folder which is output in this case - Specify the files where
*means everything
After you run it you should see an output in your terminal, so you know it worked.
Conclusion
Image optimization is important and sometimes we’re lucky enough that our development tools can do the job for us but that’s not always the case or you want to have complete control over it.
Thanks for reading! 🏄