How I Make Educational Content For YouTube
Published Jul 28, 2023
Table of Contents
- Getting Started
- You Don’t Need A Fancy Microphone
- What I Use For Recording And Editing
- Recording Your Screen
- The Secret Behind Great Audio
- Editing Your Video
- Workflow
Getting Started
Getting started with content creation can be daunting, so I want to share everything I know about making content for YouTube in this post.
You don’t need a fancy setup to make your recording look and sound great, and you don’t need to spend hours becoming a video and audio engineer.
The software mentioned in this post is free and cross-platform (I use Linux by the way 🐧) if you’re concerned about that.
You Don’t Need A Fancy Microphone
Every professional uses the Shure SM7B microphone, but it costs around $400.
Not only that, but it includes a hidden cost since it requires phantom power using an XLR connector — meaning you have to also pay for an audio interface.
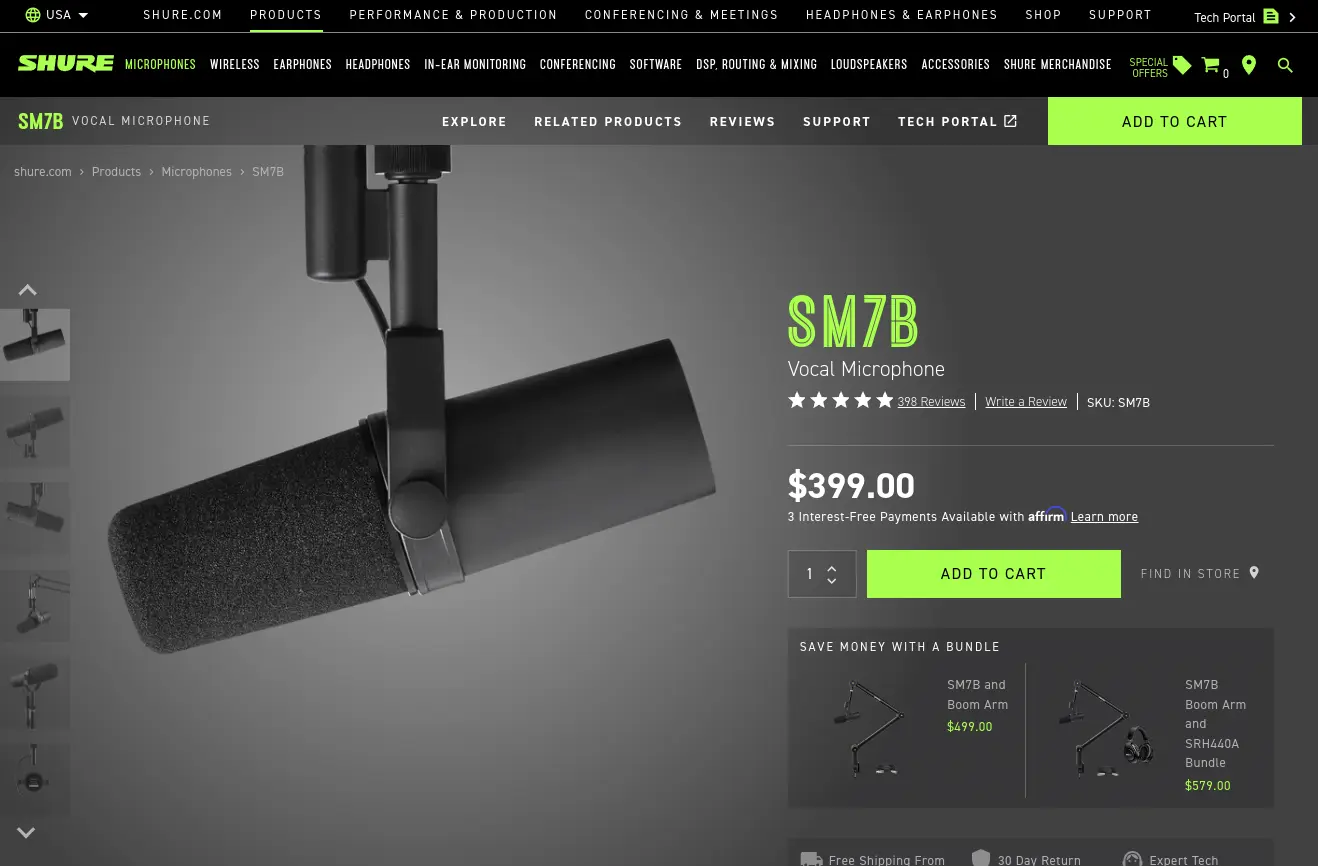
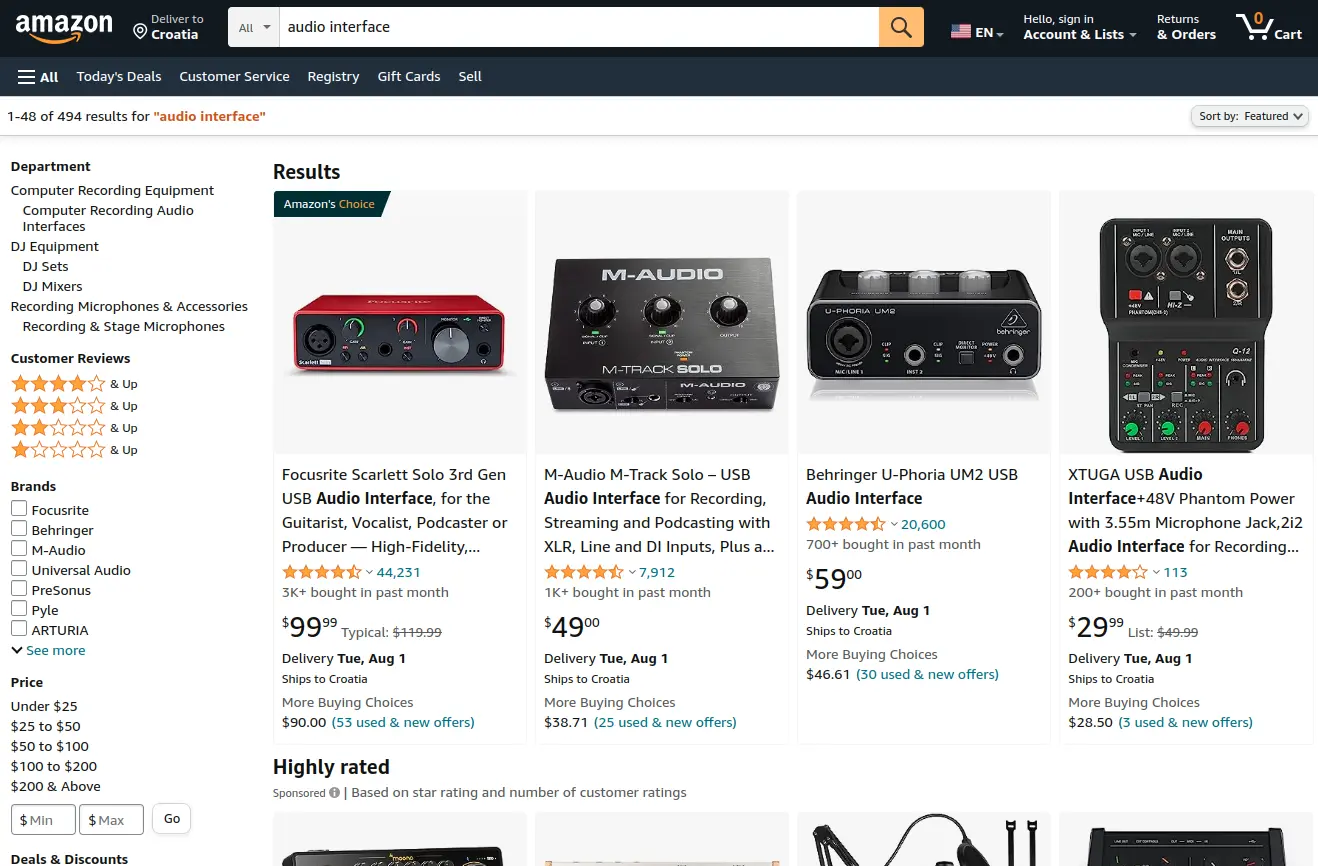
Even if you get a good deal, that means more points of failure when you just got started and just because a microphone is more expensive, doesn’t mean you’re going to sound better — if you don’t know what you’re doing.
I use an affordable USB dynamic microphone in the $50-$100 range. You have to be close to it, so it won’t pick up outside noise. It’s the same type of microphone as the Shure SM7B, but keep in mind that not every microphone is equal — do your research and listen to how it sounds before you purchase it.
You can get a great deal and pick up a microphone bundle with a microphone arm and a pop filter:
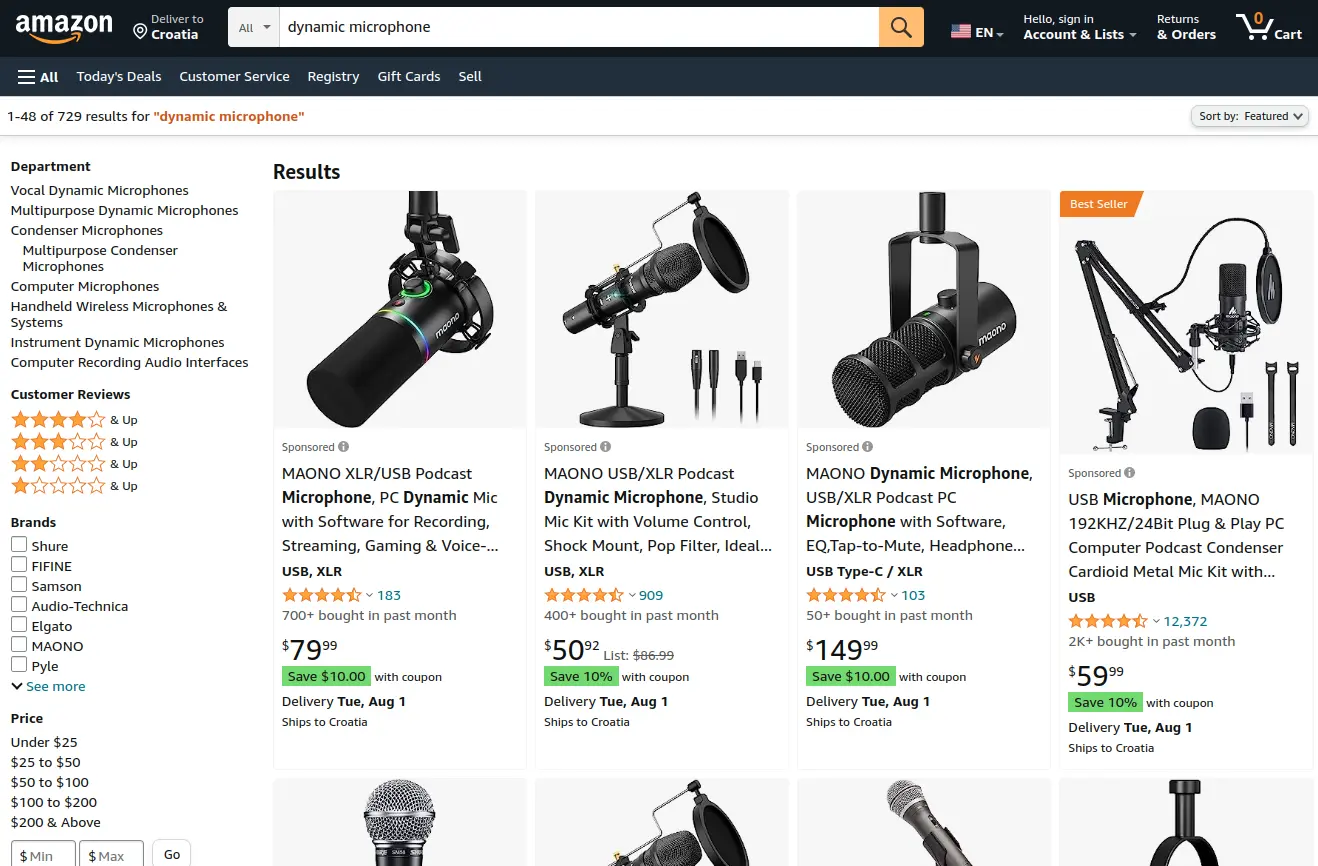
Don’t use the microphone stand on your desk because it might pick up desk vibrations. Using a microphone arm makes it easier to move around.
You can even get away with a decent headset microphone, since you can clean up the audio after you’re done recording.
In general, you want less friction as possible when it comes to making content — you’re not going to feel motivated if you have to always fight your setup.
What I Use For Recording And Editing
I use OBS for screen recording, and Kdenlive for video editing.
You can use a professional video editor like DaVinci Resolve if you want, but I prefer simplicity — the free version of DaVinci Resolve also doesn’t support the most used video format (MP4) on Linux. 🤦
Recording Your Screen
You might have heard of OBS when it comes to streaming, but it’s also great for screen recording.
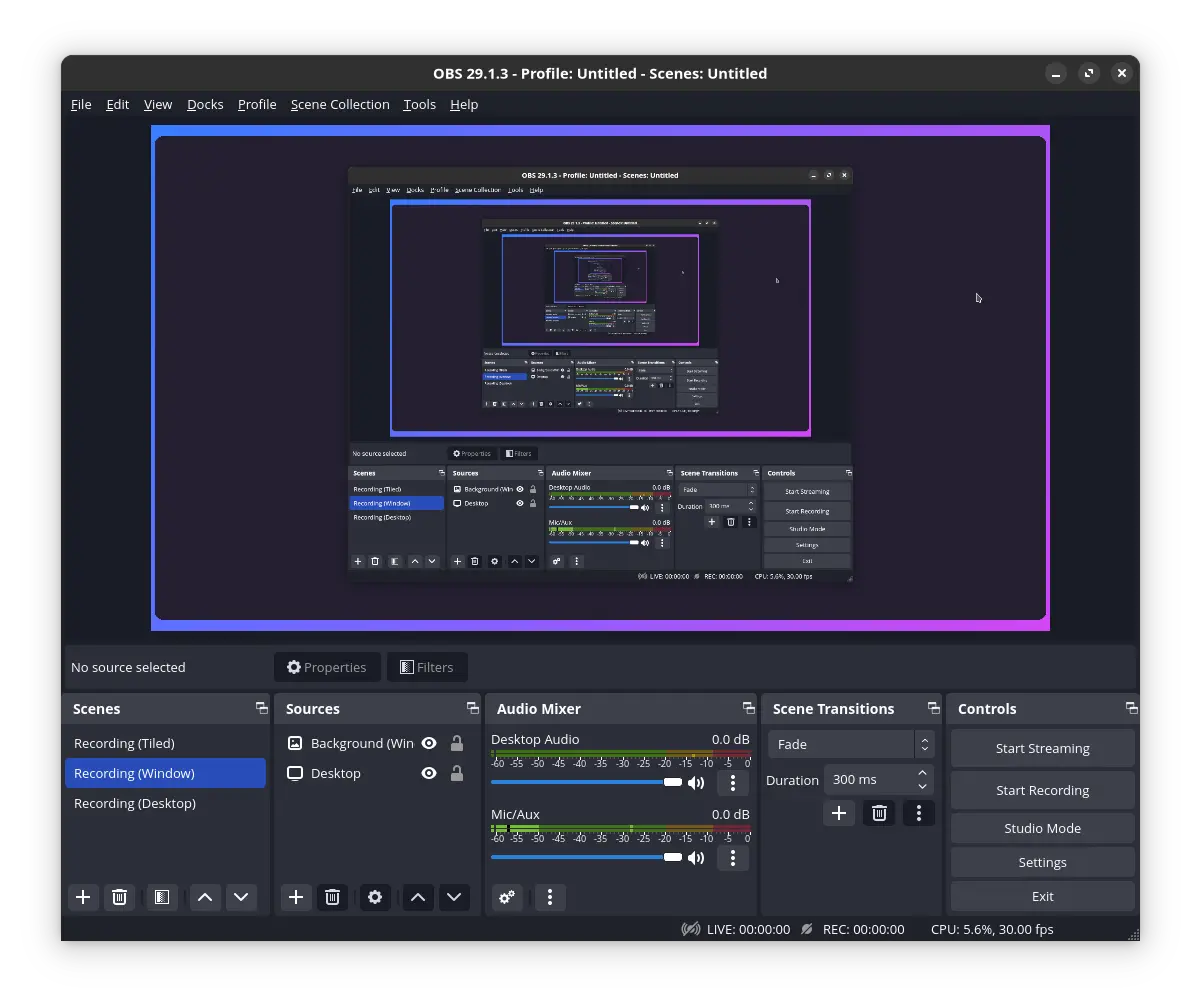
OBS has this concept of scenes and you can have multiple scenes you can transitions between if you want. For example, I have different scenes for recording windows and the entire desktop.
If I’m recording a video where there’s not a lot of motion, then using a low bitrate and the default settings works fine:
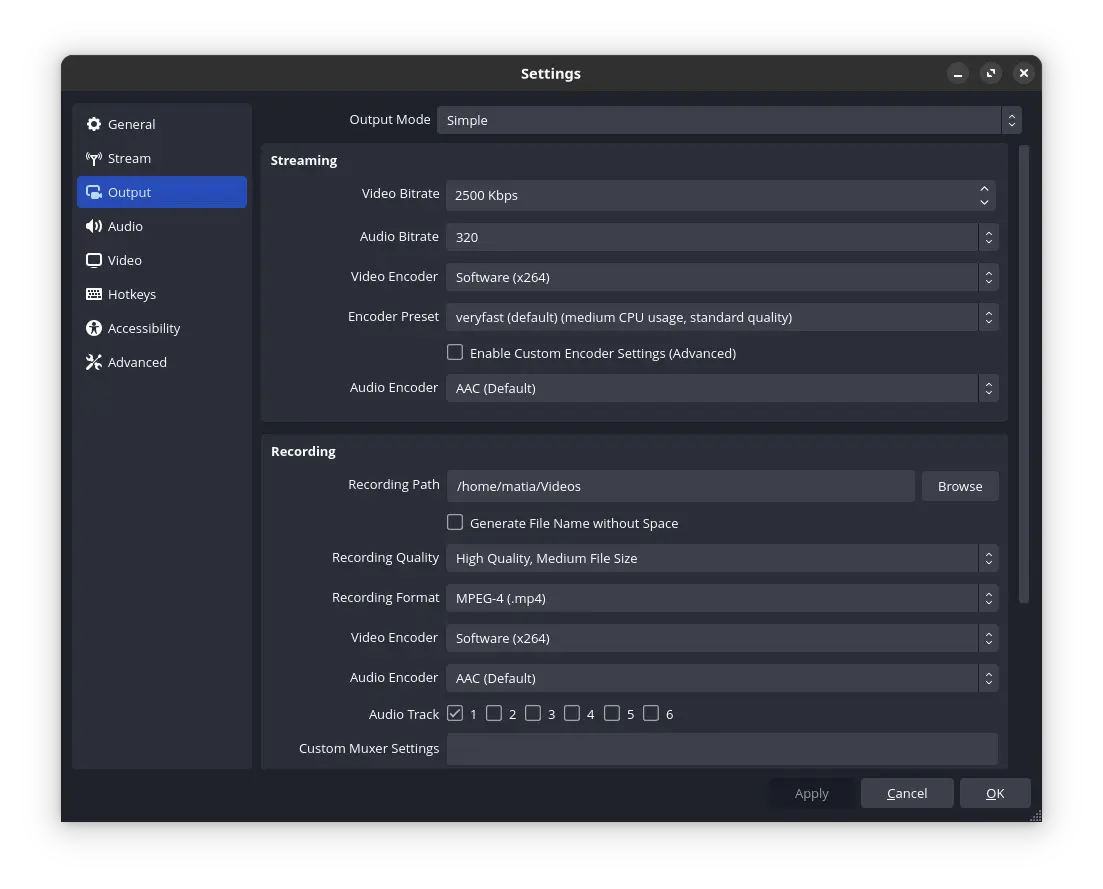
- Audio bitrate to 320 kbps (the highest possible)
- Recording quality set to “High Quality, Medium File Size”
- Recording format is set to “MPEG-4 (.mp4)” because that’s what YouTube likes
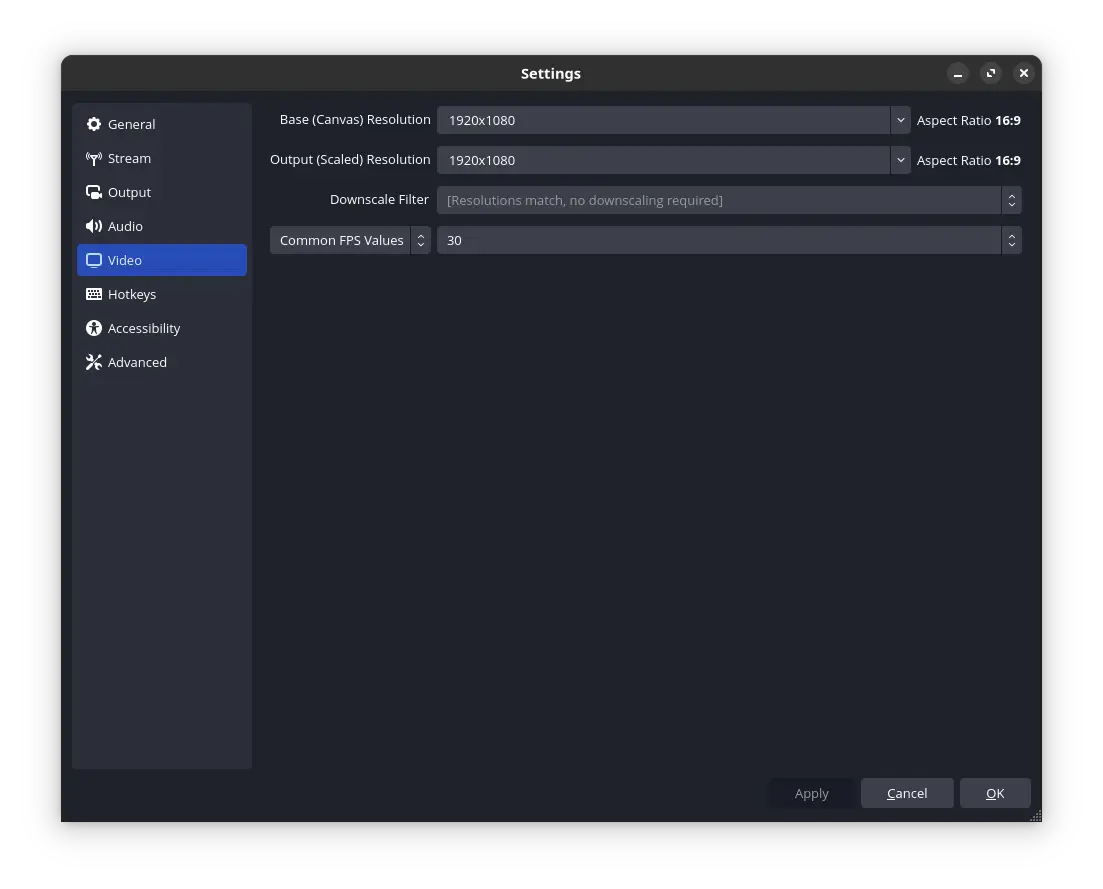
- I use 1920x1080 as the base and output resolution
- 30 FPS because you don’t need more for tutorials since there’s not a lot of motion and keeps the size down
If you’re going to record video with a lot of motion like animations, then you should use a higher bitrate (~8k-20k) and framerate (60 FPS). The video is going to be larger, so you have to strike a balance. You can read the YouTube recommended upload encoding settings for more information.
If you need to adjust the colors, you can go inside the advanced tab and play with the color format.
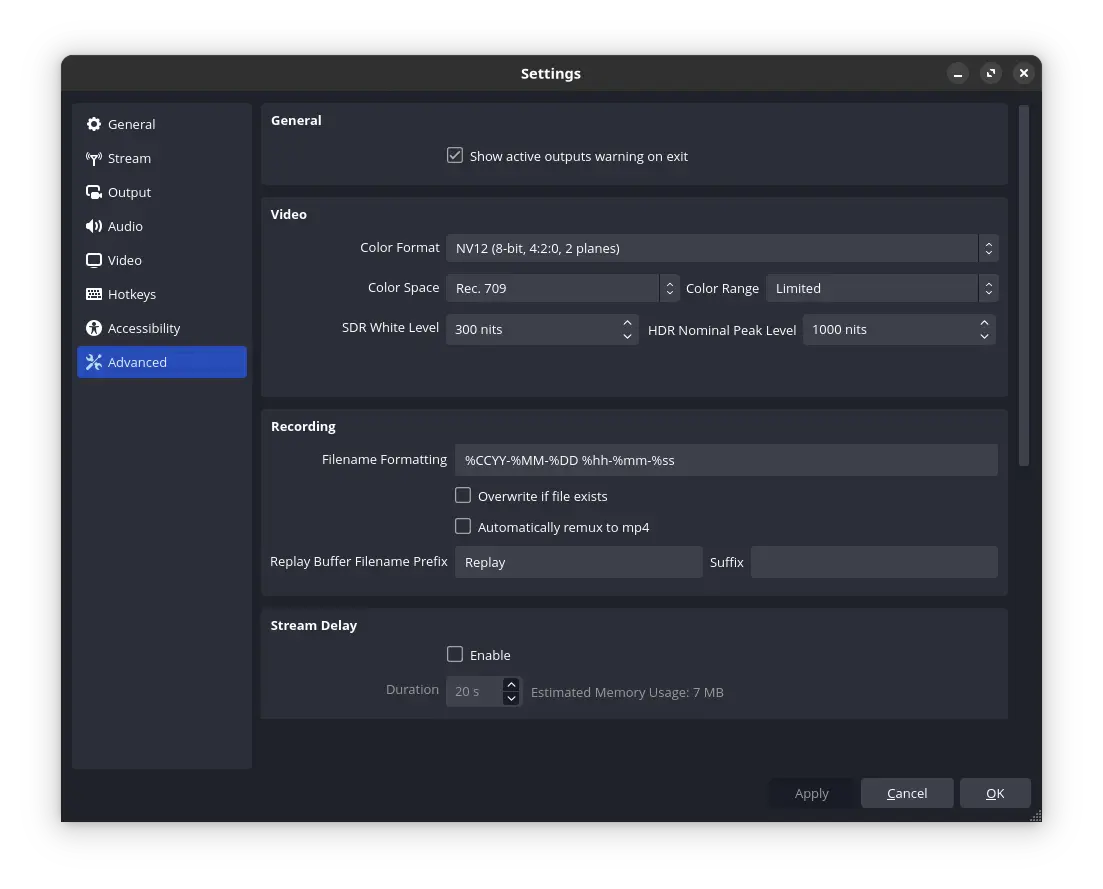
If the colors look washed out, that’s easily fixed by increasing the saturation in your video editor to match what you see.
The Secret Behind Great Audio
You can enhance your audio quality in software during or after recording to remove background noise and make your voice sound more professional.
Another reason I love OBS is due to OBS audio filters, since it can enhance your audio live during the recording. You can also use VST plugins to add more effects.
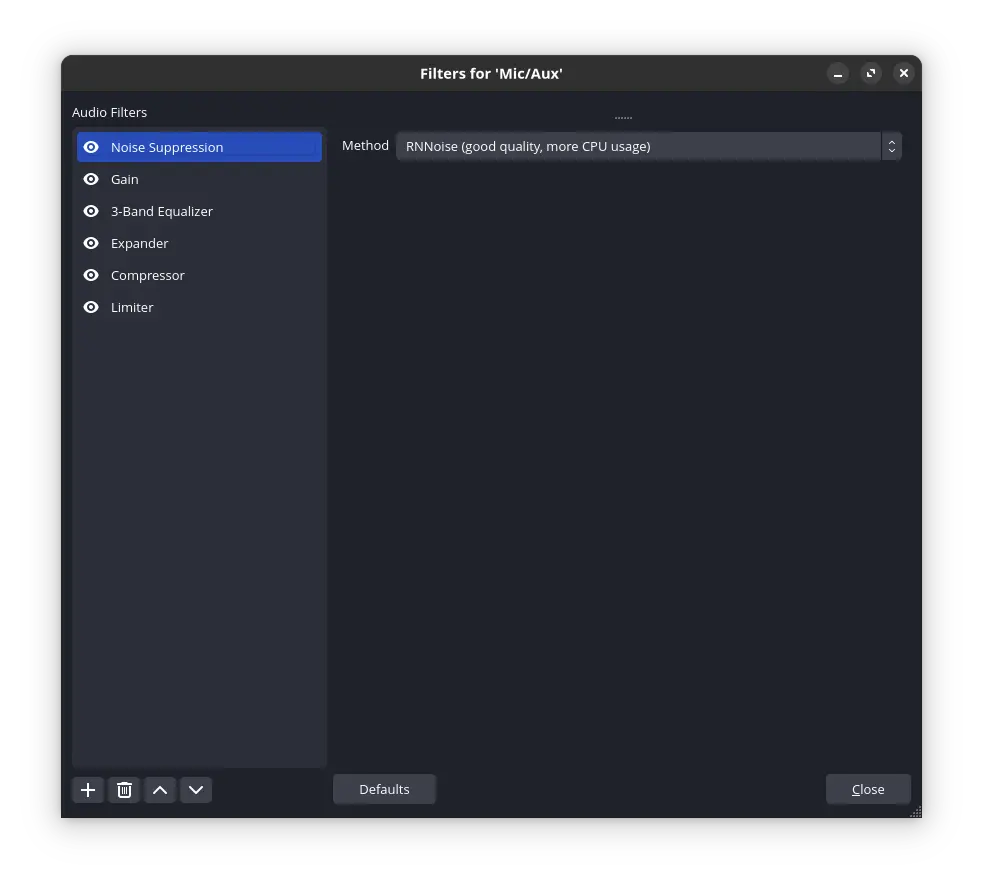
The most important effects include:
- Noise reduction removes noise
- Filter Curve EQ changes the volume of some frequencies
- Normalize makes everything sound the same volume
- Compressor events the volume even
Here’s an informative video where you can learn how to apply OBS audio effects and adjust them to your voice.
If you already have a recording, you can use Audacity to improve the audio quality using the same audio effects. You can drag the MP4 file directly into Audacity and export it as an MP3 file at 320kbps.
I set up a recording macro in Audacity to automate the process.
Always use headphones during the editing process unless you have great studio monitors, because it might sound fine over your speakers which can hide bad audio problems.
Editing Your Video
When it comes to video editing, you only need to learn how to do basic cuts and transitions. Always learn the shortcuts to be more productive.
- Drag the recording into Kdenlive (it’s going to recognize the dimensions and framerate)
- Drop the recording into the timeline
- Ungroup the video and audio from the recording
- Replace the audio and align the tracks
- Group everything together
Skip replacing the audio if you used OBS to apply audio effects.
You might be bothered by breathing sounds, but leave them in since it gives the viewer more time to process the information. If you listen to a song, you can hear the singer breathe which sounds more natural.
I only mute unpleasant sounds like sharp inhales, to provide a better listening experience.
You can also export Kdenlive guides from Timeline > Guides > Export Guides to create YouTube timestamps.
Workflow
I prefer to break longer videos into parts and edit them together. It makes everything more manageable, and no one is going to notice.
This approach has other benefits, like avoiding an hour of recording being ruined when OBS crashes. You can recover recordings if you use MKV to record videos, but then you lose quality when you convert it to another format like MP4 later.
You’re going to be the harshest critic of your work, because you can see the imperfections. The only way to learn is by doing, and the worst you can do is nothing.
Enjoy the creative process! 😄